- français
- English
Rendering and saving images
You can of course hit Print-Screen or Alt-Print-Screen then paste the screenshot in an image editor, but Lightsolve comes with some interesting features: it can export both BMP images that will look exactely as you expect and HDR images that are not tonemapped by Lightsolve (luminance images). The first format is easy to embed into documents and presentations, the second is more suitable if you want to do image post-processing manually or use it as measurement.
Once the model is loaded and the illuminance is pre-computed, you can trace images using the Lightsolve Engine or Radiance. The difference between the two are the accuracy and the speed. Lightsolve provides nice, reasonably accurate images very quickly. Radiance is very accurate, physically based and validated, but it requires the sampling parameters to be tuned perfectly to obtain good images, rendering times are very long and if you make it wrong with the parameters, rendering time can tend to infinite.
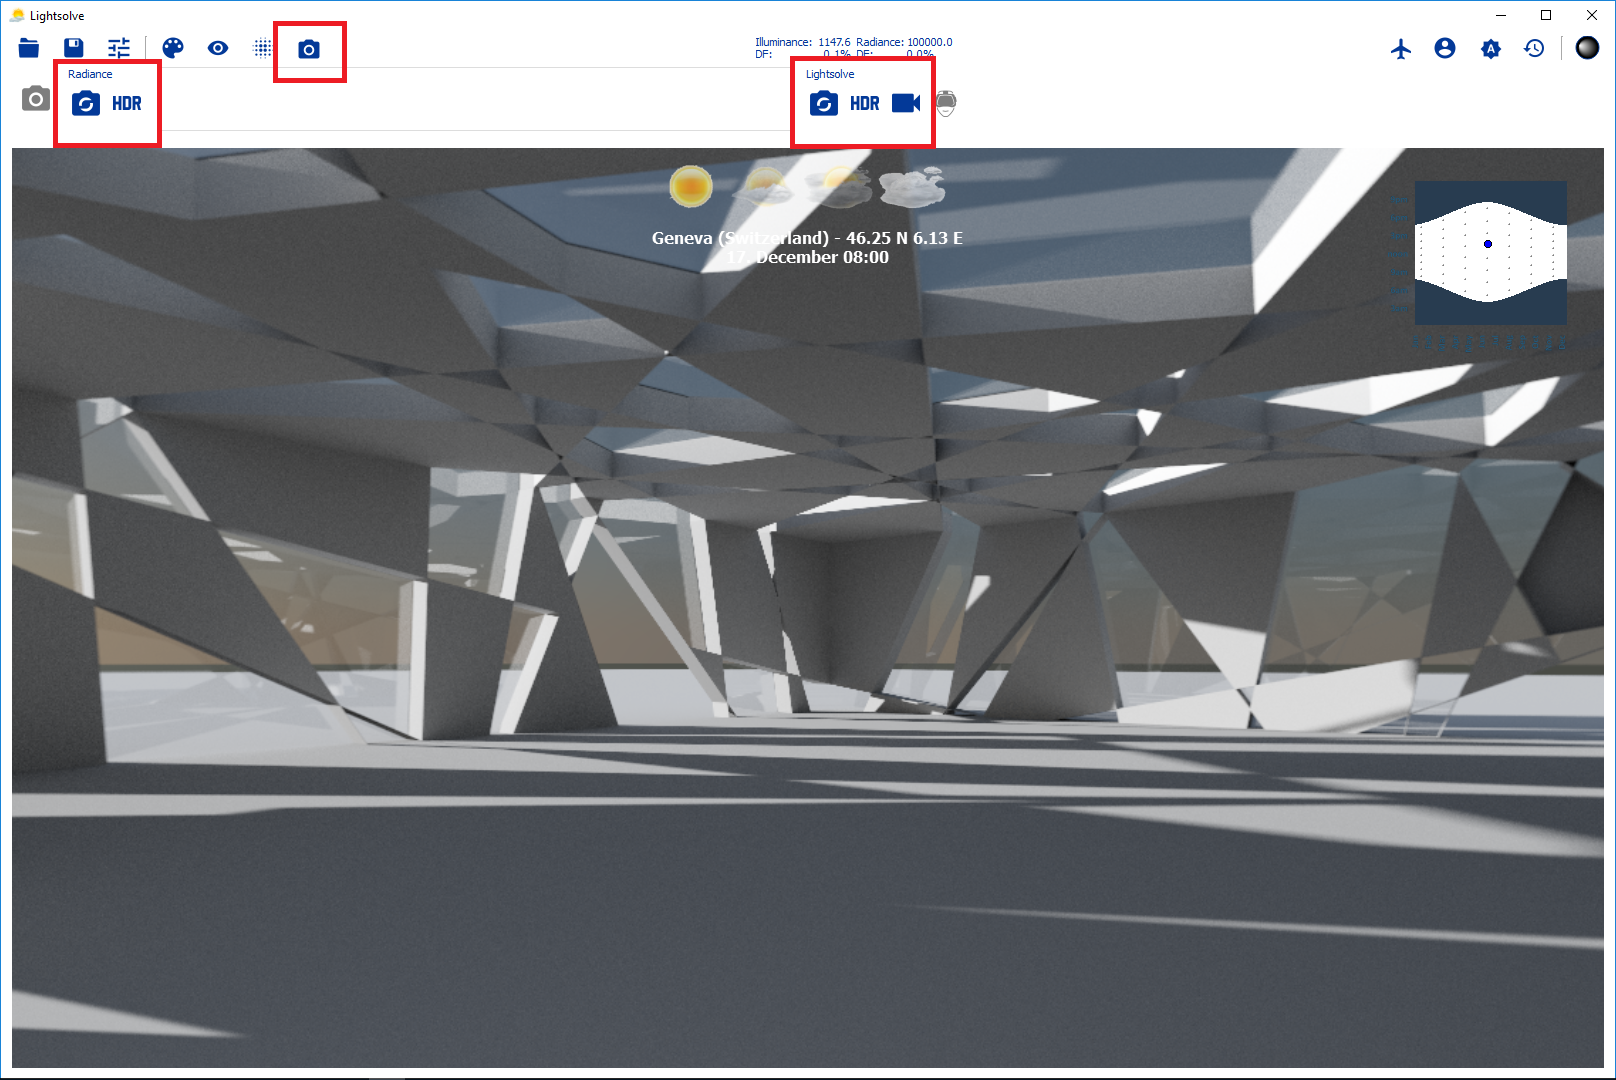
You can trace images via the main Lightsolve menu, by selecting the camera icon as shown in the figure below.