
- français
- English
Part I
Cyberbotics
Based in EPFL's innovation park, Cyberbotics has been around for 18 years. Their aim is to provide a simulation environment for a wide diversity of robots, ranging from the automated vacuum cleaner to the elaborate marsian rover, all equipped with their set of sensors and ready to roam their surroundings.
The product Cyberbotics makes is called Webots and its codebase as well as documentation source reside on git repositories hosted on Github. An important part of my beginnings at the company consisted in learning their workflow and the usage of the Github platform as a work tool.
Webots uses ODE as a physics engine, and Ogre 3D as a rendering engine, based on OpenGL. It loosely follows the X3D node structure, in order to be able to port the scenes to X3DOM.
Learning the fundamentals
The first task I was given was to go through the tutorials documentation and correct it if needed. Doing this I was able to practice the 'branch-code-push-pull request' loop and learn the workings of the software in one go.
Recently implemented and planned for the next release is the ability for a user to write their own shaders. Because Webots currently runs on OpenGL 2.1 with GLSL 1.2 this system is quite simple and there are only vertex and fragment shaders available. Nevertheless shaders remain a powerful tool to produce beautiful lighting and shadowing effects. The new feature is supposed to ease the composition of different types of textures and effects in order to render complex surface appearances.
I experimented for a short time with what was possible to accomplish at that time in order to get an appearance close to that of a used plastic surface. To that end I tried out specular and normal maps with different textures. A texture for the latter was generated to look like scratches, in all fairness it was meant to appear as microscratches but the resolution was too low. On the left a "dirt" texture was used to alter specular highlights and on the right normals are simply perturbed by a scratched texture map.
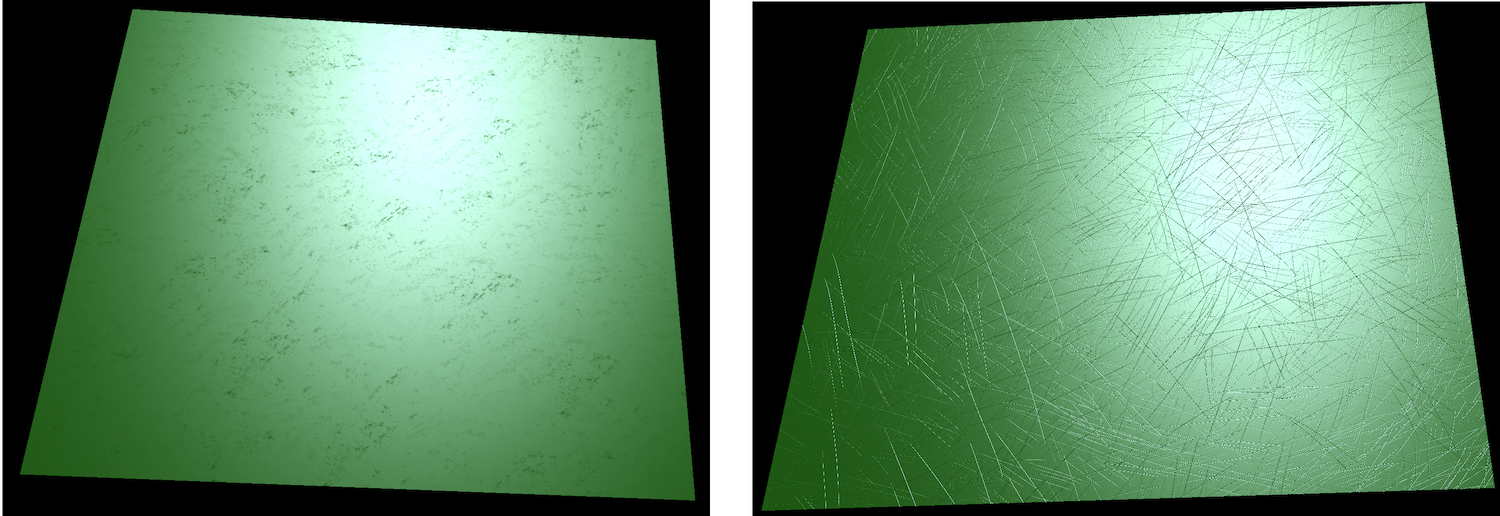
I concluded that more layers were needed to be blended if we wanted to obtain something really interesting and convincing.
Environment mapping
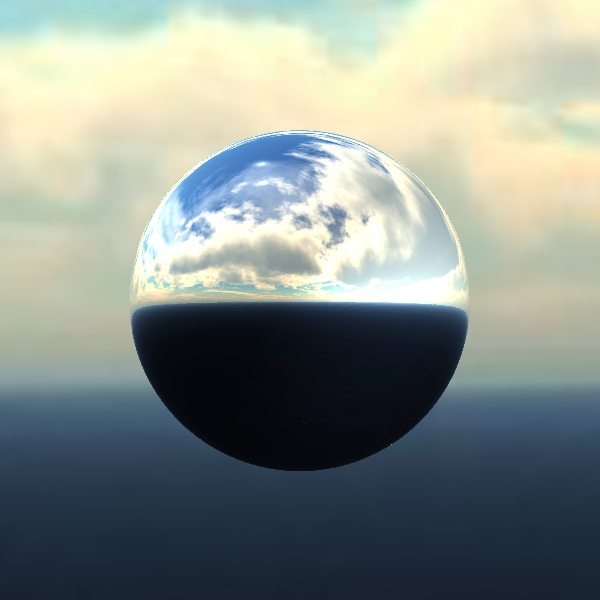
After fixing a bug and implementing an enhancement to the scene tree navigation system, I started implementing an environment mapping feature using a cubic texture to represent a static environment. The new feature required me to go through a big portion of the code, write a comprehensive documentation and test case. Once this is done, the feature can be included in the framework for advanced appearances.
Here is a reflecting sphere produced with this implementation:
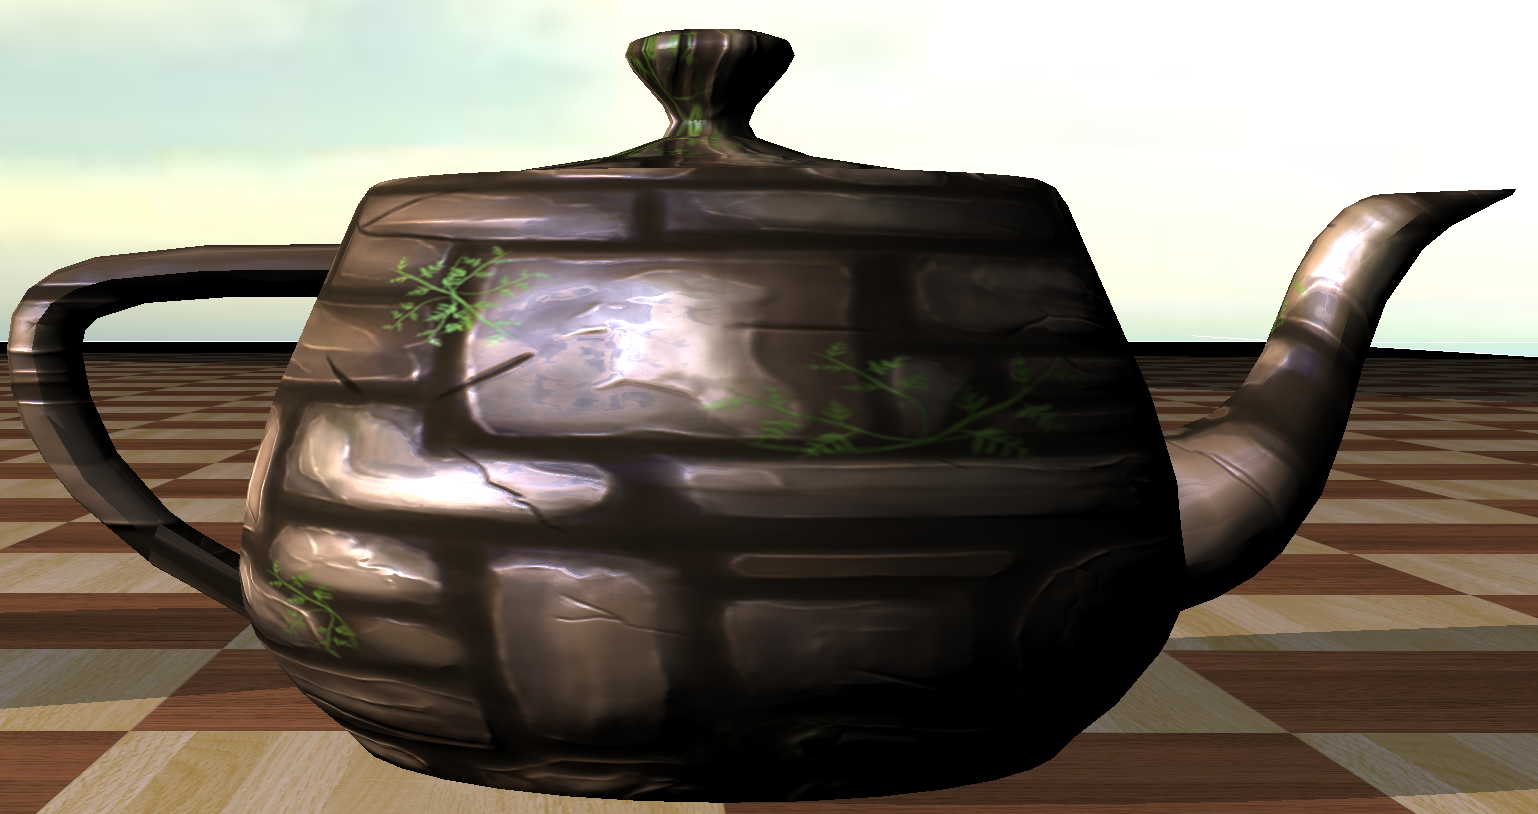
And here is an example of a more complex material implementing environment mapping, in which one can detect the image of the background clouds, deformed by the perturbed surface normal:
Scene conversion
Meanwhile I also delved into the method for converting a scene to X3DOM.
The conversion is, in effect, a translation from GLSL 1.2 to GLSL ES 1.0 and suffers a set of drawbacks. OpenGL provides built-in light information attributes in the form of an array of structures called gl_LightSource, while X3DOM only provides flattened out vectors, matrices and scalars of these informations (e.g. vec3 light0_Direction, float light1_Type). Because of this, the gl_LightSource array cannot be traversed similarly and a prospective for-loop must be unrolled. The result was a set of blocks each pertaining to a single light in which control statements such as 'continue' and 'break' were not allowed anymore.
Three possible solutions arose:
- Hardcode arrays populated by X3DOM's uniforms to simulate the array behaviour and preserve the loops. Unfortunately and quite predictively this solution led to a massive amount of arrays being initialised for each fragment, therefore leading to a dramatic drop in performance. The frame rate dropped below 1, losing all fluidity.
- Force the exported scene to provide relevant static uniforms and possibly use javascript to fetch dynamic information and update uniform values. This forces a duplication of the initialisation code, which is not very elegant, and would prove quite uselessly complex.
- Detect such statements and insert a dummy one-iteration for-loop in front of the unrolled blocks to allow them to be effective again. Since this is the simplest and most efficient solution, it was the one to be implemented.
PROTOs and nodes
The basic elements composing a scene are nodes, they describe objects whether physical or conceptual that help assemble a working simulation. When creating a virtual world, the user selects nodes from the library provided by Webots, and ajusts their properties to fit their needs. For instance to shed light on a scene one needs to insert one of the three types of lights' node and change its 'on' property to 'True'. A comprehensive description of each scene is saved as a VRML file, making it easy for someone to understand and edit manually.
PROTOs are an extension to the node system in that they allow combinations of existing nodes or PROTOs. Lua scripting greatly enhances the generative power of these elements, making it possible to create content procedurally in an easy manner.