|
Navigation
 This wiki
This page This wiki
This page
|
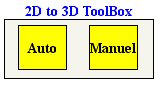
4. 3D Alignment of 2D Images Once images are preprocessed and rescalled, the alignement of 2D slices might begin. To recover the 3D volume, slices need to be aligned. To do so press the 2D to 3D button The following options appear:
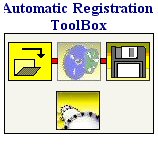
The automatic mode aligns slices automatically using multi-resolution scheme registration. Manual mode use points of correspondances given by the user. We'd rather use the automatic mode which is easiest, simplest and quickest. Moreover it permits to process several individuals at the same time. Auto Mode : Pressing the auto mode leads to the following options : If you have only one individual to process, first load it (image you prevouisly process in the rescalled part, should be named as : NameIndi-Rescalled.mhd), and press the compute button, wait until it is done and save it. It will be automatically save in the same directory as the load image with the name : Recale.mhd If you have several individual to process, use the pipeline button
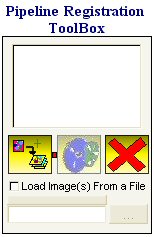
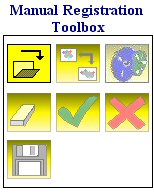
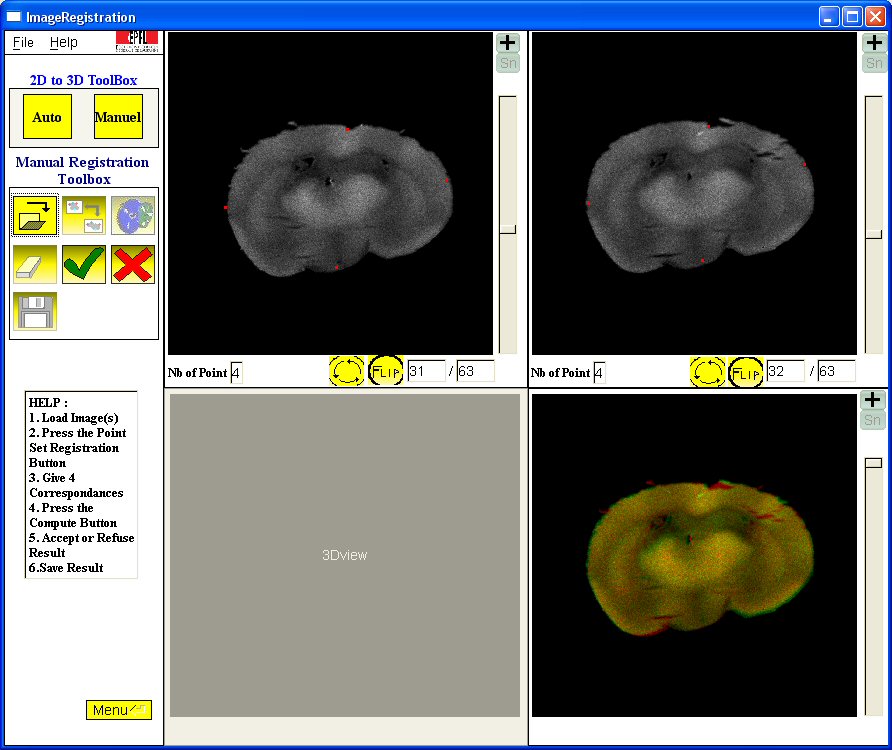
First load images, then press the compute button and depending on the number of individuals you are processing, you may have a long time to wait! During the loading of individual, if you have made a mistake, you can delete the last added image by clicking on the delete button You can also load a file containing the path of all individuals instead of loading them image per image. Press the compute button and wait until it is done. Manual Mode : Pressing the manual mode leads to the following options : 1. Load Images. On the right part, two images will be loaded one called the fixed image and one called the moving image. They are the same but the moving image is loaded at the slice n and the fixed image is loaded at the slice n+1. 2. The user have to give the correspondances between images. Four points on each image are necessary to get a good result. Once you've given all the correspandances, press the compute button. Wait and the result appears, slices should be aligned. If you estimate to have a good result, press the accept button. Repeat this action for all slices until all of them are aligned.
Once all slices are aligned, save the image using the save button. It will be automatically saved in the same directory as the loaded image.The image will be called Recale.mhd After doing the reconstruction step, go back to the main menu by using the Menu button
|
Share |